 how-to
Smart Thermostat Installation for Older Homes
Table of Contents
- Understanding Smart Thermostat Installation for Older Homes
- What Is a C-Wire and How to Fix Missing C-Wire for Smart Thermostat
- Smart Thermostat Compatibility with Old HVAC Systems
- Step-by-Step Smart Thermostat Installation Process
- DIY vs. Professional Smart Thermostat Installation
- Troubleshooting Common Installation Issues
- Aesthetic Considerations and Wall Patching
- Conclusion
Last Updated: August 23, 2026
Understanding Smart Thermostat Installation for Older Homes
Smart thermostat installation for older homes presents unique challenges. Homes built before 2000 often lack the modern wiring infrastructure that contemporary smart thermostats require. The most common issue isn't the thermostat itself, it's the missing C-wire that powers it.
Your existing thermostat likely operates on low voltage, drawing minimal power from your HVAC system's control board. Smart thermostats need continuous power to maintain Wi-Fi connectivity, process data, and display information. Older homes frequently lack a dedicated common wire (C-wire) running from the furnace control board to the thermostat location. This guide walks you through diagnosing your setup and choosing between three solutions: rewiring your home, installing a power extender kit, or hiring a professional.
What Is a C-Wire and How to Fix Missing C-Wire for Smart Thermostat
A C-wire is a common or neutral wire that completes an electrical circuit between your furnace control board and thermostat. Traditional thermostats operated on a two-wire system, drawing minimal power intermittently. Smart thermostats require constant low-voltage power to maintain their processor, screen, and wireless connectivity. Without a dedicated C-wire, your smart thermostat either drains batteries constantly or fails to function properly.
Checking Your Current Wiring
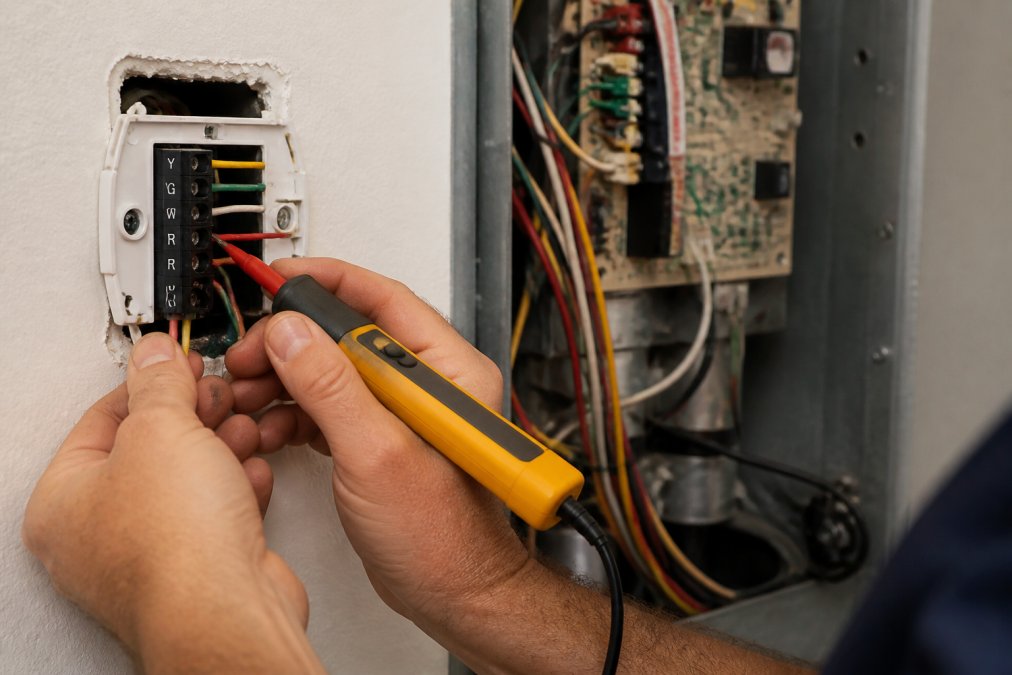
Turn off power to your HVAC system at the breaker panel, this is non-negotiable for safety. Remove your existing thermostat carefully by photographing the wire configuration before disconnecting anything. Most older thermostats have two to four wires: typically red (power), white (heat), yellow (cool), and sometimes green (fan). The absence of a blue wire (common) confirms you're missing the C-wire.
Look inside your thermostat opening at the wall. If you see a bundle of wires running through the wall cavity toward your furnace, trace it downward. Some homes have additional wires bundled together but not connected to the thermostat terminals, these unused wires might already serve as a C-wire pathway. If you find an extra wire in the bundle, you can repurpose it. If not, you have two realistic options: install a power extender kit or run new wire through your walls.
Power Extender Kit Installation
A power extender kit (PEK) is the most practical solution for homeowners who can't or won't run new wiring. The kit includes a small device that installs at your furnace control board, creating a virtual C-wire by using your existing wires. Instead of requiring a dedicated fifth wire, the PEK steals power from one of your existing wires during idle periods when that circuit isn't actively calling for heating or cooling.
Most power extender kits cost between $40 and $100 and take 30 to 45 minutes to install if you're comfortable working near your furnace (energystar.gov). The installation involves connecting the PEK to your control board's terminals using the same wire gauge as your existing thermostat wires. You'll then run a new two-wire cable from the PEK back to your thermostat.
The limitation of a power extender kit is compatibility. Older furnaces with millivolt systems cannot support a PEK. Hydronic heating systems and radiator-based setups also cannot use a PEK because they lack a traditional furnace control board.
Smart Thermostat Compatibility with Old HVAC Systems
Not every smart thermostat works with every older HVAC system. Before purchasing a thermostat, verify that your heating and cooling setup can actually support smart control.
Voltage Compatibility for Antique Systems
Homes built before 1980 sometimes use millivolt thermostats, which operate on extremely low voltage (typically 24-750 millivolts) generated directly by the heating system's pilot light. These systems lack a traditional transformer and control board. A standard smart thermostat requires 24 volts of continuous power and cannot function on a millivolt system without significant modifications (nist.gov).
To check your system's voltage, use a multimeter set to the DC voltage setting. With your HVAC system powered on, touch the probes to your thermostat's R (red) and C (blue) terminals. If you read 24 volts, you have a standard low-voltage system compatible with smart thermostats. If you read less than 5 volts, you likely have a millivolt system requiring either a professional control board upgrade or a rare thermostat specifically designed for millivolt systems.
Hydronic Heating and Radiator Systems
Homes heated by boilers with radiators or baseboard convectors operate differently from forced-air furnace systems. These hydronic systems use a zone valve or modulating valve to control hot water flow rather than an on-off furnace. Many smart thermostats cannot control these systems because they expect a furnace with heating and cooling stages.
Some newer smart thermostats include hydronic mode, but compatibility varies widely. Before purchasing, contact the thermostat manufacturer with your specific boiler model and valve type.
Step-by-Step Smart Thermostat Installation Process
Once you've confirmed compatibility and chosen your approach, the actual installation follows a consistent sequence. The process takes 45 minutes to 2 hours depending on your comfort level and wiring complexity.
Safety Precautions and Power Shut-Off
Before touching any wires, turn off power to your HVAC system at the main breaker panel. Locate the breaker labeled "Furnace," "Heating," or "HVAC" and switch it to the off position. Wait 30 seconds to allow any residual charge to dissipate. Test the thermostat by trying to call for heat or cool, nothing should happen if power is truly off.
Even though thermostat wiring operates on low voltage (24 volts), the control board itself can carry higher voltage in some older systems. Turning off the breaker eliminates any risk of shock or damage to your new thermostat.
Identifying Wire Labels and Color Codes
Standard thermostat wiring follows a color convention, though older homes sometimes deviate. Red wires indicate power (R terminal). White wires call for heat (W terminal). Yellow wires call for cooling (Y terminal). Green wires control the fan (G terminal). Blue wires provide the common return path (C terminal).
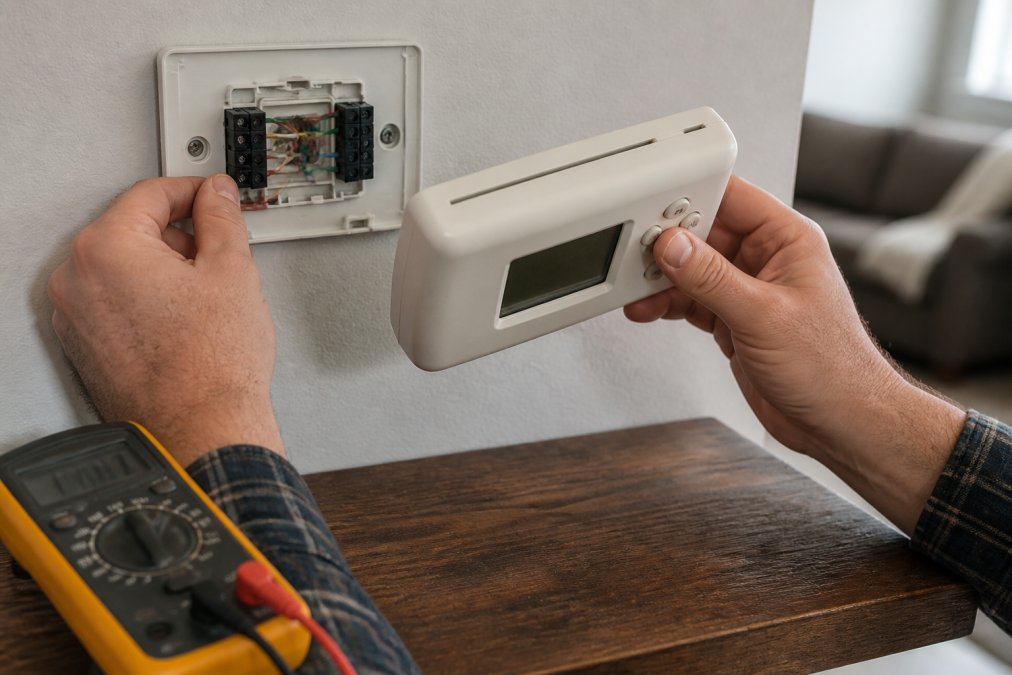
Before disconnecting anything, photograph your existing wiring setup. If your wires lack color coding or labels, use a multimeter to test which wire carries 24 volts (this is your R wire). Mark each wire with a piece of tape labeled with its terminal letter before removing the old thermostat.
Removing Your Old Thermostat
Disconnect each wire from its terminal on the old thermostat. If wires are connected with small screws, loosen them gently, you're not removing the screw entirely, just loosening it enough to slide the wire out. Pull each wire straight out rather than twisting it.
Once all wires are disconnected, remove the thermostat body from the wall. It typically clips or screws to a backplate. If it's glued to the wall, carefully pry it away with a plastic tool rather than a metal screwdriver.
Call (702) 707-4242 for a free estimate →
Examine the backplate. If it's cracked, severely discolored, or doesn't match your new thermostat's mounting pattern, remove it and patch the wall with spackling compound.
Installing the New Smart Thermostat
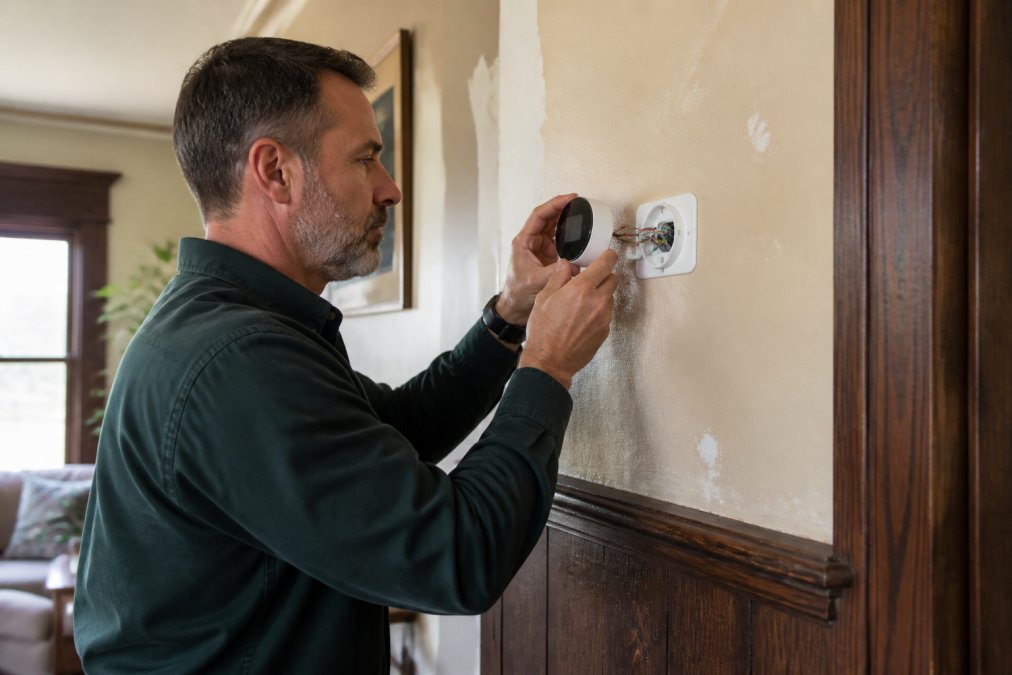
Most smart thermostats include a new backplate. Position it over the existing hole or patched area, ensuring it's level using a small level tool. Mark the screw holes with a pencil. If you're mounting into drywall, use the wall anchors provided with your new thermostat. If you're mounting into plaster, use plastic anchors rated for plaster rather than standard drywall anchors.
Screw the backplate securely to the wall. Connect your wires to the new thermostat's terminals in the same configuration as your old thermostat: R to R, W to W, Y to Y, G to G. If you're using a power extender kit, connect the two wires from the PEK to the C and R terminals on the new thermostat instead of running a wire back to the furnace. Tighten each terminal screw firmly, loose connections cause intermittent operation and false error codes.
Snap the thermostat body onto the backplate. Turn power back on at the breaker panel. Your new thermostat should power up and display its startup screen. Follow the on-screen prompts to connect to your Wi-Fi network and configure your heating and cooling preferences.
DIY vs. Professional Smart Thermostat Installation
The decision to install a smart thermostat yourself or hire a professional depends on your comfort with electrical work, your home's wiring complexity, and your HVAC system type.
DIY installation makes sense if your home has standard forced-air heating, accessible wiring, and either an existing C-wire or a compatible power extender kit. You save the cost of a service call, which typically ranges from $150 to $300. The risk is minimal if you follow safety precautions and verify compatibility before purchasing.
Professional installation becomes necessary when your system uses hydronic heating, millivolt control, or unusual wiring configurations. RTS Comfort Cooling & Heating offers professional smart thermostat installation. A professional can also integrate your new thermostat with your existing smart home ecosystem.
Troubleshooting Common Installation Issues
Even with careful planning, installation sometimes reveals unexpected problems.
If your thermostat powers on but won't connect to Wi-Fi, verify that your home's Wi-Fi network is broadcasting on the 2.4 GHz frequency. Move your router closer to the thermostat temporarily to test connectivity.
If your thermostat displays a "no power" or "low battery" error immediately after installation, you likely have a loose wire connection. Turn off the breaker, remove the thermostat from the wall, and check that each wire is seated fully in its terminal. Tighten each terminal screw by a quarter turn.
If your system won't heat or cool after installation, verify that you connected the W and Y wires to the correct terminals. Swapping these wires is the most common mistake. Turn off the breaker, swap the wires if needed, and test again.
If you installed a power extender kit and the thermostat still shows a low-power error, the PEK may not be compatible with your furnace control board. Contact the thermostat manufacturer's support line with your furnace model number.
Aesthetic Considerations and Wall Patching
Smart thermostats are typically larger than older models, and your new thermostat's backplate may not fully cover the hole left by your old one. Use spackling compound to fill any gaps around the backplate. Apply it with a putty knife, overfilling slightly so it's flush with the wall surface after drying. Once dry (typically 2-4 hours), sand the patch smooth with 120-grit sandpaper and paint to match your wall color.
If your new thermostat is significantly larger than your old one, consider the visual impact. Positioning it on an interior wall rather than a prominent exterior wall minimizes visual distraction.
Installing a smart thermostat in an older home requires understanding your specific HVAC configuration and wiring limitations, but it's absolutely achievable with the right preparation. If your system uses standard forced-air heating with accessible wiring, a DIY installation with a power extender kit typically works well. For homes with unusual heating systems, complex wiring, or compatibility concerns, professional installation ensures your thermostat operates safely and integrates properly with your home's HVAC controls. RTS Comfort Cooling & Heating offers professional smart thermostat installation that includes full system assessment, compatibility verification, and integration with your existing climate control setup. Call (702) 707-4242 for a free estimate and let our team handle the technical details so your upgrade delivers reliable comfort without the guesswork.
Frequently Asked Questions
What is a C-wire and why do smart thermostats need one?
A C-wire, or common wire, provides continuous low-voltage power to your smart thermostat. Smart thermostats require constant power to maintain Wi-Fi connectivity and display functionality, unlike older mechanical thermostats that draw power only when heating or cooling cycles run. If your older HVAC system lacks a dedicated C-wire, you'll need to install one or use a power extender kit to make your smart thermostat compatible.
How do I know if my older HVAC system is compatible with a smart thermostat?
Check your existing thermostat wiring by turning off power at the breaker and photographing the terminal connections. Count the wires and identify their colors using standard color codes: red (power), white (heating), yellow (cooling), green (fan), and blue or black (common). Most forced air systems with 4+ wires are compatible. Hydronic heating systems and millivolt systems may require special consideration. If uncertain, a professional can verify compatibility and identify any voltage issues with antique systems.
Can I install a smart thermostat myself, or should I hire a professional?
DIY installation works if you're comfortable with basic wiring and have the necessary tools like a voltage tester and multimeter. However, older homes often have unusual wiring configurations, unlabeled wires, or compatibility challenges that require professional expertise. If you encounter missing C-wires, unfamiliar terminal labels, or concerns about your furnace control board, hiring a professional ensures proper installation and avoids costly mistakes.
What should I do if my older home doesn't have a C-wire?
You have two options: run a new C-wire from your furnace control board to your thermostat, or install a power extender kit. Running a new wire involves accessing your breaker panel and furnace, which requires electrical knowledge. A power extender kit is simpler and works with your existing wires by drawing power from the heating or cooling circuit. Both solutions work, but the right choice depends on your HVAC system type and comfort level with electrical work.
This article was written using GrandRanker