 how-to
How to Identify Air Leaks in Your Home
Last Updated: October 22, 2026
Quick Summary
To identify air leaks, use visual inspection to check for gaps and damaged weatherstripping around windows and doors, then perform a hand test by holding your palm near frame edges on a windy day to feel drafts. You can also use incense smoke, a non-contact thermometer, or call a professional for a blower door test to pinpoint air infiltration locations throughout your home.
- Windows and doors are the most common air leak sources and easiest places to start your inspection.
- The hand test works best on windy days or when indoor-outdoor temperature differences are greatest.
- Attic hatches, rim joists, and penetrations where pipes and wires pass through walls are major leak locations.
- A non-contact thermometer costs between $15 and $50 and reveals temperature drops indicating air infiltration.
- Winter is the best season for testing because large temperature differences make leaks easier to detect.
Table of Contents
- Why Identifying Air Leaks Matters for Your Home
- How to Check for Air Leaks Around Windows and Doors
- Common Air Leak Locations in a Home
- DIY Home Air Leak Test Methods
- Understanding the Blower Door Test for Air Leaks
- Seasonal and Weather Conditions for Testing
- Next Steps: Sealing and Verifying Repairs
- Frequently Asked Questions
Why Identifying Air Leaks Matters for Your Home
Air leaks are one of the biggest energy wasters in most homes.
Air infiltration is often the root cause of energy waste, and it's something you can detect yourself before calling a professional. The challenge is knowing where to look and which methods work best.
Air leaks happen around windows, doors, vents, and penetrations where pipes and wires pass through walls, as well as in attics, basements, and around ductwork.
The good news is that identifying air leaks doesn't require expensive equipment. Simple visual checks and tactile tests, combined with knowing the common locations, put you in control of your home's energy efficiency.
How to Check for Air Leaks Around Windows and Doors
Windows and doors are the most common sources of air infiltration and the easiest places to start your inspection. These openings move and settle over time, damaging weatherstripping and caulk.
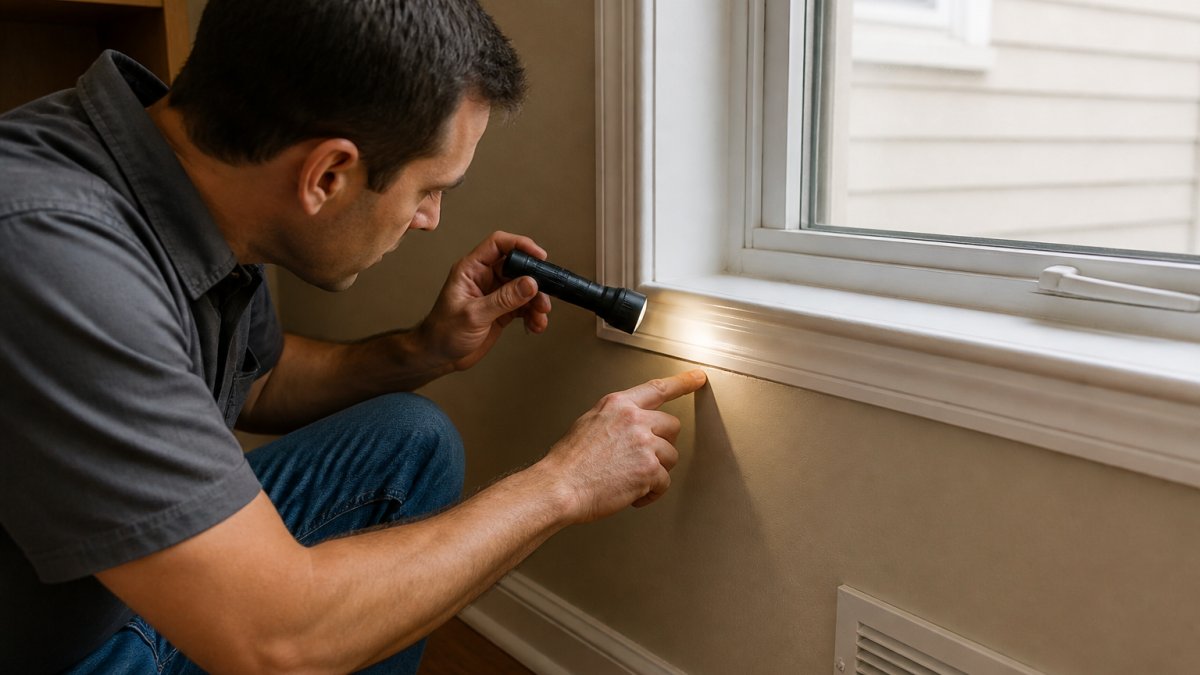
Visual inspection of frames and weatherstripping
Look at the frames around every window and door.
Examine frame corners closely, they take the most stress and often fail first. Check the bottom of doors where they meet the threshold; any separation means air flows freely underneath.
Open and close windows and doors slowly and watch for movement of dust or debris near the seals, a visual cue that air is moving where it shouldn't.
The hand test method
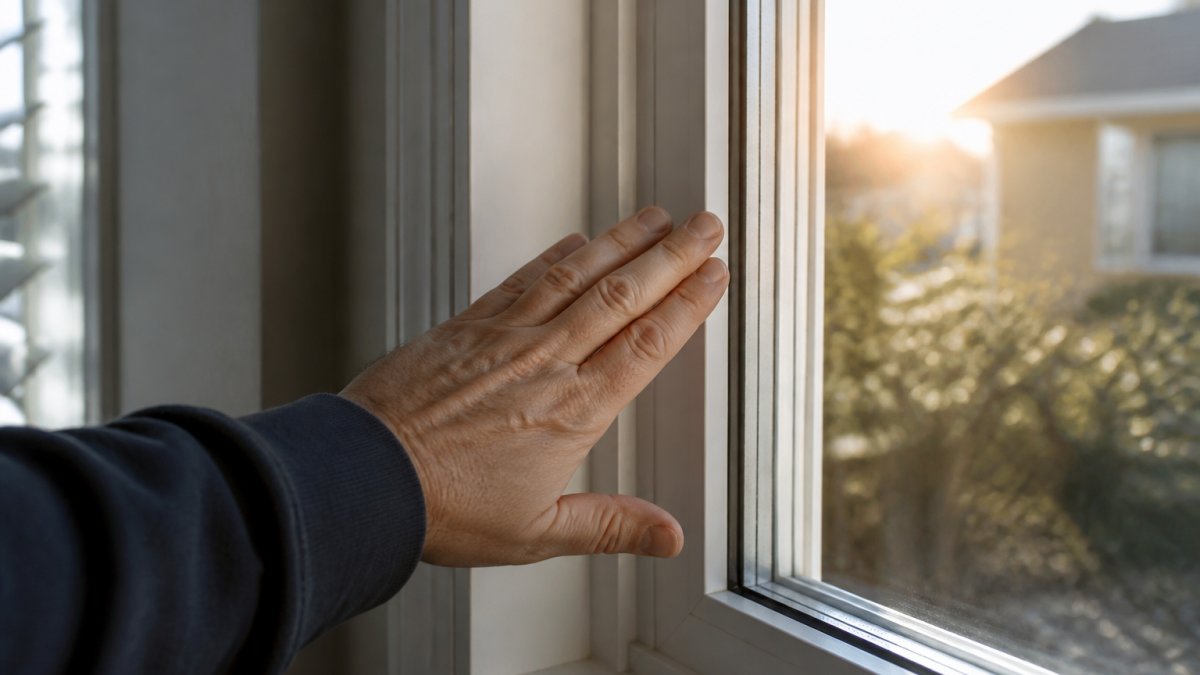
The hand test is one of the most reliable ways to identify air leaks around windows and doors.
Move your hand slowly around the entire perimeter, paying special attention to corners, where the frame meets the wall, and where the sash meets the frame. You'll feel a distinct coolness or warmth when air is leaking.
Test both sides of the door or window: outside air often leaks in at the bottom and sides, while warm air leaks out through the top.
The hand test works best on windy days or with a significant indoor-outdoor temperature difference; on calm, mild days, small leaks are harder to detect.
Common Air Leak Locations in a Home
Most homes lose conditioned air through the same predictable locations, so knowing where leaks happen helps you prioritize inspection and repairs.
Attic access points and insulation gaps
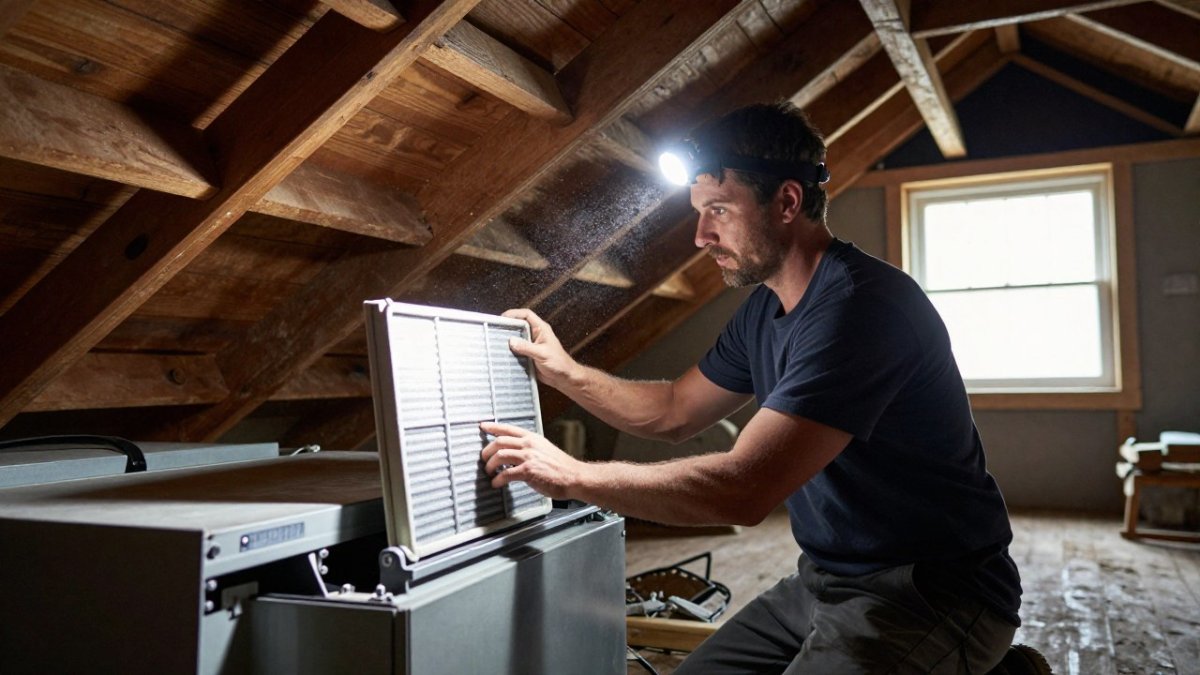
The attic is where a huge percentage of air leakage occurs. Attic hatches and pull-down stairs are notorious for poor seals, often minimal or no weatherstripping, and rarely sealed properly.
Check around the attic hatch frame for gaps. Feel for air movement around the edges. If the hatch is loose or doesn't close flush, air is escaping into unconditioned space.
Gaps in attic insulation create pathways for air movement. Missing insulation around rim joists (where the foundation meets the walls) is especially problematic, letting outside air flow directly into living spaces.
Check where pipes, wires, and ductwork penetrate the attic floor.
Vents, ductwork, and ceiling fixtures
Range hoods, bathroom exhaust vents, and dryer vents move air outside, but when not in use they can become leak sources. Check their dampers, they should close completely when the fan is off.
Recessed lighting fixtures create holes that bypass your insulation, leaking air around and through them into attic space. Look for gaps between the fixture and the drywall.
Ductwork passing through unconditioned spaces (attics, basements, crawlspaces) can leak at seams and connections. Visible gaps or loose connections are red flags, feel around duct seams for air movement.
Foundation, rim joists, and wall penetrations
Where your foundation meets the walls above, there's often a gap called the rim joist area, a major leak location many homeowners miss. Inspect it in your basement or crawlspace for gaps, missing insulation, or visible daylight.
Holes where plumbing, electrical, or HVAC lines pass through walls are common leak points, often left unsealed. Check interior and exterior walls for gaps around pipes and wires.
Hose bibs (outdoor faucets) and other exterior penetrations can leak air, check around them from inside for gaps or drafts.
DIY Home Air Leak Test Methods
You have several options for testing your home for air leaks. Each has strengths and limitations; combining methods gives the most complete picture.
Using incense or a candle to spot air movement
Incense and candles are simple tools for detecting air movement. Light the incense or candle and hold it near suspected leak locations.
This method works well for finding leaks around windows, doors, and vents. It's especially effective in still indoor conditions where even small air movement becomes visible.
The limitation is that this method only works when there's a temperature difference or wind outside. On mild, calm days, small leaks may not produce enough air movement to move smoke noticeably.
Safety is important here. Never leave a lit candle unattended. Keep it away from curtains, papers, and other flammable materials.
Thermal leak detection with temperature differences
Temperature differences between inside and outside create pressure that drives air movement. The greater the difference, the more noticeable air leaks become.
Call (702) 707-4242 for a free estimate →
Use a non-contact thermometer to check surface temperatures around suspected leak areas. A significant temperature drop at a specific location often indicates air infiltration. Cold spots on walls or around frames suggest outside air is leaking in.
Compare the temperature of the wall surface near a suspected leak to the temperature a few feet away. A difference of several degrees points to air movement.
This method requires a non-contact thermometer, which costs between $15 and $50. It's a worthwhile investment if you plan to do a thorough inspection.
Safety precautions for DIY testing
Keep safety in mind when testing for air leaks. Never climb on roofs or into attics without proper safety equipment. Use a sturdy ladder and have someone spot you.
Watch for electrical hazards in attics and basements. Don't touch wires or create conditions that could damage them.
If you're using candles or incense, never leave them unattended. Keep them away from flammable materials. Ensure good ventilation if you're burning anything indoors.
Avoid testing during extreme weather. High winds can make results confusing. Very calm days make small leaks hard to detect. Mild temperature differences also reduce the effectiveness of most DIY methods.
Understanding the Blower Door Test for Air Leaks
A blower door test is the professional standard for measuring air leakage. It's the most accurate way to identify air infiltration and measure how tight your home really is.
How the blower door test works
A blower door is a powerful fan mounted in a frame that fits into an exterior door opening. The fan pulls air out of your home, creating negative pressure inside.
As outside air is drawn in, it disturbs dust and debris. A technician can watch where dust moves to identify leak locations.
The blower door measures how much air flows through your home at a standard pressure difference. This number tells you how "tight" your home is.
The test reveals the total air leakage but also helps locate specific problem areas. A skilled technician can move a smoke source around your home to find where the biggest leaks are concentrated.
When to call a professional for blower door testing
If you want precise measurements of your home's air tightness, you need a professional blower door test. This is especially valuable if you're planning major energy efficiency improvements.
A blower door test is also useful if you've completed air sealing work and want to verify that your repairs actually reduced leakage.
Professional HVAC contractors, energy auditors, and weatherization specialists perform blower door tests. RTS Comfort Cooling & Heating can help you understand your home's air leakage and recommend solutions tailored to your specific situation.
The test is an investment that pays off by guiding your repair priorities and verifying that your improvements work.
Seasonal and Weather Conditions for Testing
The season and weather significantly affect how easy it is to identify air leaks. Understanding these conditions helps you plan your inspection.
Winter is the best time for testing. The large temperature difference between inside and outside creates strong pressure that drives air movement.
Summer is the second-best option. Air conditioning creates temperature differences, though usually smaller than winter differences.
Spring and fall present challenges. Mild temperatures mean small pressure differences. Air movement through leaks is minimal.
Windy days make testing easier regardless of season. Wind creates additional pressure that forces air through leaks.
Avoid testing during extreme weather. High winds can overwhelm your ability to isolate specific leaks.
Next Steps: Sealing and Verifying Repairs
Once you've identified air leaks, the next step is sealing them. Different locations require different approaches and materials.
Weatherstripping and caulk are the most common solutions for windows and doors. Weatherstripping is removable and replaceable.
For gaps around penetrations, spray foam works well. It expands to fill irregular spaces and provides both air sealing and insulation value.
After sealing, verify your work. Use the same testing methods you used initially. Feel for air movement with your hand. Use incense to check for smoke movement.
If you've sealed multiple areas, a follow-up blower door test shows the overall improvement.
| Leak Location | Detection Method | Sealing Solution | Difficulty |
|---|---|---|---|
| Windows and doors | Hand test, visual inspection | Weatherstripping, caulk | Easy |
| Attic hatch | Visual inspection, hand test | Weatherstripping, insulation | Easy |
| Rim joists | Visual inspection, incense | Spray foam, insulation | Moderate |
| Ductwork seams | Visual inspection, hand test | Duct sealant, mastic | Moderate |
| Recessed lights | Visual inspection | Foam seals, caulk | Moderate |
| Penetrations | Incense, visual inspection | Spray foam, caulk | Easy to moderate |
Identifying air leaks is the first step toward a more energy-efficient home.
Frequently Asked Questions
How do you check your home for air leaks?
Start with a visual inspection of windows, doors, and common leak locations like attic access points and wall penetrations. Use the hand test by holding your hand near suspected leak areas to feel for air movement. For a more thorough check, use incense or a candle to watch for smoke movement, or hire a professional for a blower door test. Test during windy conditions or temperature differences for best results.
Where are the most common places for air leaks in a house?
Common air leak locations include window and door frames, attic hatches and insulation gaps, recessed ceiling fixtures, ductwork seams, plumbing penetrations, hose bibs, rim joists, and foundation cracks. Vents and air vents are also frequent sources of air infiltration. Inspect these areas first when identifying air leaks, as they account for most energy loss in homes.
Can you find air leaks with a candle or incense stick?
Yes, incense or a candle can effectively detect air movement and drafts. Light the incense and hold it near suspected leak areas. If smoke moves or wavers, air is flowing through that spot. This DIY home air leak test is simple and low-cost, though it requires careful observation. Always keep flames away from flammable materials and never leave burning materials unattended.
How do you use a blower door test to find air leaks?
A blower door test uses a powerful fan mounted in an exterior door to pressurize your home and measure air leakage. Professionals use smoke to identify where air escapes. This professional-grade method provides precise measurements of total air infiltration and pinpoints specific leak locations that DIY methods might miss. It's the most accurate way to assess your home's overall air sealing.