 how-to
HVAC Installation in Historic Homes: Keep Character
Table of Contents
- Why Historic Home HVAC Projects Fail Before Installation Begins
- Historic Home HVAC Options That Protect Original Features
- HVAC Ductwork for Old Houses: Retrofit Constraints and Solutions
- Your HVAC Installation Planning Checklist for Older Homes
- Preservation Approvals and Documentation You Need
- Questions to Ask an HVAC Contractor Before Work Begins
- Moisture, Air Quality, and Envelope Risks After Installation
- Commissioning and Post-Installation Verification
- Frequently Asked Questions
Last Updated: October 18, 2026
Why Historic Home HVAC Projects Fail Before Installation Begins
Most historic home HVAC projects fail long before a single screw goes into a wall.
Historic homes were built for a different climate strategy. They relied on gravity, cross-ventilation, and thermal mass.
We have walked into too many of these jobs after the fact. The pattern repeats. A crew sizes equipment off square footage alone. Ducts get crammed through a closet.
Assessing Structure, Systems, and Space Constraints
Start with a real assessment, not a sales visit. A proper walkthrough covers four things:
- Structure: Can floor joists and wall cavities carry new equipment and duct runs?
- Existing systems: What is already there, and what can be reused?
- Space: Where can equipment and ductwork physically go?
Old houses hide surprises. Knob-and-tube wiring, balloon framing, and plaster over lath all change the plan. A contractor who does not open a wall or inspect the attic is guessing.
Space constraints matter most. Historic homes rarely have a mechanical closet. You may be looking at a basement, a crawlspace, an attic, or a closet retrofit. Each option has trade-offs for access and noise.
Historic Home HVAC Options That Protect Original Features
The right historic home HVAC options are the ones you can install, service, and later remove without gutting the house. Reversibility is the design principle that separates a good retrofit from a bad one.
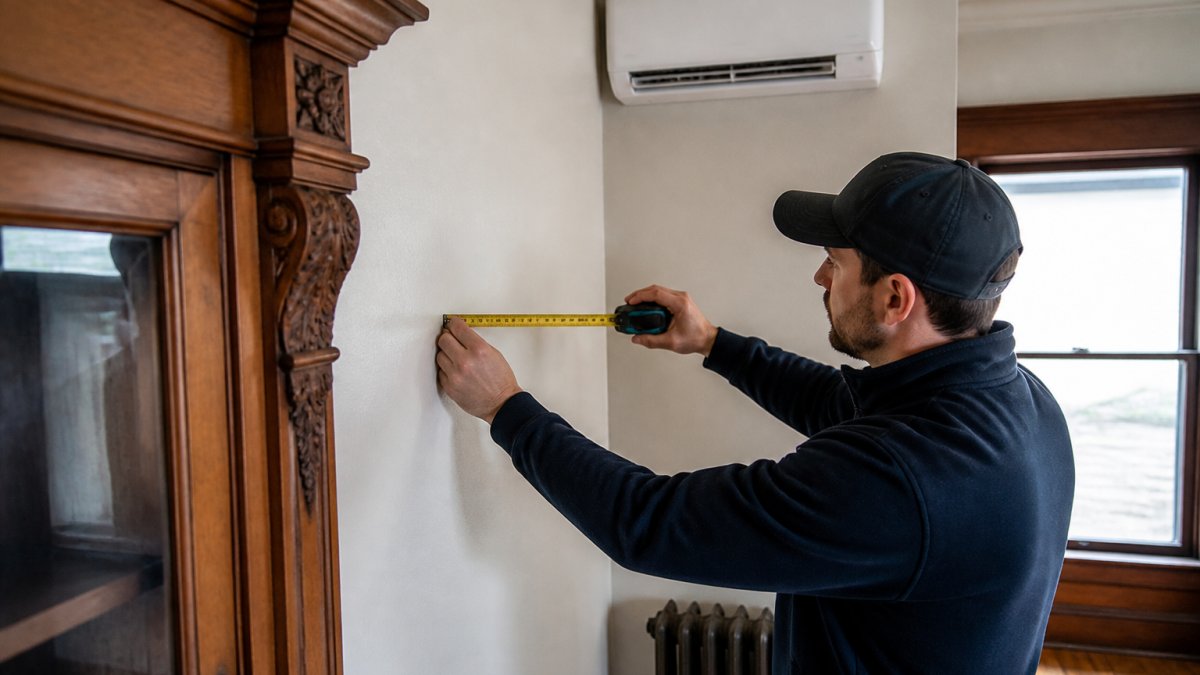
You have three practical families of systems to weigh:
| Option | Best For | Main Trade-off |
|---|---|---|
| Ductless mini-splits | Homes with no duct space | Visible wall units in each room |
| High-velocity systems | Homes needing central air with small ducts | Higher equipment cost, more design work |
| Heat pumps | Efficient heating and cooling in one | Cold-climate performance needs checking |
Ductless Mini-Splits vs. High-Velocity Systems
Mini-splits win on disruption. You run a small line set to each zone and skip ductwork almost entirely.
High-velocity systems push conditioned air through small-diameter tubing. That tubing fits inside existing wall cavities and behind original plaster far more easily than rectangular duct.
A common mistake is choosing on price alone. In a historic home, the cost of repairing damaged plaster and trim often exceeds the equipment difference.
HVAC Ductwork for Old Houses: Retrofit Constraints and Solutions
HVAC ductwork for old houses is the hardest part of any retrofit. Old homes were not framed for ducts, and forcing them in damages the features you are trying to save.
The constraints are real:
- Wall cavities are shallow or filled with blocking
- Plaster cracks when you cut into it
- Floor joist bays may be too small for standard duct
Solutions exist, but they require planning:
- Use small-diameter or high-velocity tubing where standard duct will not fit.
- Route runs through closets, soffits, and chases instead of finished walls.
- Reuse existing chases where a prior system already made a path.
- Keep runs short to protect airflow and efficiency.
Your HVAC Installation Planning Checklist for Older Homes
An HVAC installation planning checklist keeps the project from drifting. The difference between a clean retrofit and a disaster is not the equipment, it is the order in which decisions get made. Work through the phases below in sequence, and do not let a contractor skip ahead to equipment selection before the earlier phases are signed off.
Phase 1: Survey and Documentation (Before Any Bid)
- Walk the house with a contractor who has documented historic retrofits, not just new construction
- Photograph every room, wall, ceiling, attic, basement, and crawlspace before anything is touched
- Note original features by name: crown molding, chair rail, plaster medallions, heart-pine floors, transoms, pocket doors
Phase 2: Approvals and Scope (Before Ordering Equipment)
- Identify whether the property sits in a locally designated historic district or carries landmark status
- Request the design review guidelines from the local preservation commission in writing
- Submit a scope that describes what stays, what changes, and how routes will be hidden
Phase 3: Routing and Protection Plan (Before Cutting)
- Map every duct, line-set, and drain route on paper and walk it in the house
- Identify which walls, ceilings, and floors will be opened and how they will be restored
- Specify floor protection, dust containment, and trim removal/reinstallation methods
Phase 4: Installation and Phasing
- Sequence work to keep at least one conditioned zone usable during the project
- Stage equipment and materials outside finished spaces
- Photograph each opened cavity before it is closed, this is your as-built record
Phase 5: Commissioning and Handoff
- Airflow measured at every supply and return
- Room-by-room temperature and humidity recorded
- Controls and thermostat configured and tested end to end
That last phase gets skipped constantly. Insist on it in writing, and tie final payment to the commissioning report.
Preservation Approvals and Documentation You Need
Approvals come before equipment, not after. If your home sits in a historic district or carries a local landmark designation, exterior changes and some interior work may need review. The most common failure pattern is a homeowner who orders equipment, schedules installation, and only then learns that the visible condenser pad or the exterior line-set penetration requires a certificate of appropriateness.
Step 1: Find Out What Rules Apply
Start with the local preservation commission or historic district commission, usually a city or county body, sometimes a state historic preservation office. Ask three questions in writing:
- Is the property in a locally designated historic district or individually designated?
- Does the work fall under exterior-only review, or does interior mechanical work trigger review?
- What is the submission deadline and review timeline for the next meeting?
Review cycles commonly run on a monthly meeting schedule, so a missed deadline can push a project by weeks. Build that into the schedule before you sign a contract.
Call (702) 707-4242 for a free estimate →
Step 2: Understand the Review Standard
The Secretary of the Interior's Standards for the Treatment of Historic Properties are the common frame most local commissions apply, even when the local ordinance is worded differently. The standards emphasize retaining historic character, using reversible treatments, and avoiding damage to character-defining features. National Park Service guidance on preserving historic properties explains how those standards apply, and they are a useful frame even when formal review is not required.
Step 3: Build the Submission File
A complete submission typically includes:
- Photographs of existing conditions, labeled by location
- A written scope describing what stays and what changes
- Manufacturer spec sheets and dimensioned drawings for proposed equipment
Step 4: Document Reversibility and Future Maintenance
Reversibility is the argument that wins approvals and protects resale. Show how line sets run through removable chases, how equipment sits on isolation pads rather than bolted into historic masonry, and how access panels are sized so a future technician can service the system without opening finished walls. A system that can be removed cleanly is a system a preservation commission is far more likely to approve.
Step 5: Keep the Record
Build a project file that includes the approved scope, the review sign-off, the as-built photographs of every opened cavity, and the commissioning report. That file protects you if a future owner, insurer, or inspector questions the work, and it is the same file a preservation commission will ask for if you ever apply for a subsequent alteration.
Questions to Ask an HVAC Contractor Before Work Begins
The questions you ask before hiring tell you more than any brochure. Ask them directly and listen for specifics.
- Will you run a full load calculation, and can I see it?
- How will you protect original trim, plaster, and floors?
- What is your plan for duct routing, and what gets cut?
- Who handles preservation paperwork if review is needed?
- How do you verify the system works after installation?
- What does maintenance access look like for each unit?
- What happens if a wall cavity will not take the run?
A good contractor answers these without flinching. A vague answer on any of them is your signal to keep looking. When you are ready to talk through your own old house, our team can walk the property and flag constraints before anything is ordered.
Moisture, Air Quality, and Envelope Risks After Installation
New HVAC work changes how an old house breathes. Tighten one part of the envelope and moisture moves somewhere else. That shift is the risk nobody warns homeowners about.
Watch for these after installation:
- Condensation on cool surfaces in summer
- Musty smells in basements or crawlspaces
- Uneven humidity between floors
The fix is control, not guesswork. Add humidity monitoring, seal obvious air leaks, and make sure ventilation is intentional. U.S. Environmental Protection Agency guidance on indoor air quality covers the fundamentals of moisture and ventilation in homes, and it is worth reading before you finalize a design.
Indoor air quality also improves when ductwork is clean and sealed. If your old ducts have never been cleaned, that is a sensible line item in the same project.
Commissioning and Post-Installation Verification
Commissioning is the step that proves the system does what the design promised. Skip it, and you inherit problems silently.
Verification should cover:
- Airflow measured at each supply and return
- Room-by-room temperature checks
- Refrigerant charge confirmed against spec
Smart thermostat setup belongs here too. We install and test smart thermostats as part of the handoff, so the controls are verified before we leave.
Keep your commissioning report with your documentation file. It is the record that protects you if performance slips later.
Frequently Asked Questions
Can ductless mini-splits be installed in a historic house without damaging original features?
Yes. Ductless mini-splits are often the least invasive option for historic homes because they need only a small hole through an exterior wall for refrigerant lines, typically 3 inches or less. That means no tearing into plaster, no dropped ceilings, and no cutting through original woodwork. The trade-off is that you need a wall or ceiling location for each indoor head, so placement matters. A contractor should walk each room with you and identify spots that keep equipment off sightlines and away from trim, molding, and original plaster details.
Do historic homes need special permits for HVAC installation?
It depends on local rules and whether the home sits in a designated historic district or is individually landmarked. Many historic districts require a certificate of appropriateness or design review before exterior changes, and some require review even for interior work that affects visible features. Standard mechanical and electrical permits usually apply as well. Before signing a contract, ask your contractor whether they have worked under preservation review and confirm what documentation the local preservation office needs. Getting approval first avoids stop-work orders and costly reversals.
How do you add ductwork to a home without damaging walls or ceilings?
The realistic answer is that you plan the route before anyone cuts anything. Contractors typically look for existing chases, closets, attic space, basements, and soffits that can hide duct runs. High-velocity small-diameter ductwork can thread through cavities that standard rectangular duct cannot. Where no path exists, surface-mounted duct enclosures can be built to match trim. The key step is a room-by-room route plan reviewed with you before work starts, so you know exactly which walls open up and which original surfaces stay untouched.
What should I ask an HVAC contractor before work begins on a historic home?
Ask for examples of prior work in older homes, how they plan duct or line routes room by room, and whether they handle preservation paperwork. Confirm who patches plaster and who is responsible if original trim or molding gets damaged. Ask for a written scope that names every wall, ceiling, and floor they will open. Also ask about load calculations, equipment placement, and how the system will be commissioned and verified at the end. A contractor who cannot answer these clearly before signing is a risk on a historic property.
Maintaining historic home architectural integrity during HVAC installation comes down to sequence: assess first, get approvals, choose reversible systems, and verify the result. RTS Comfort Cooling & Heating handles heating and cooling installation, duct cleaning, indoor air quality work, and smart thermostat setup for older homes, with 24/7 emergency service when something fails. Call (702) 707-4242 for a free estimate and get a plan that protects the house you love.