 how-to
How to Install a C-Wire Adapter for a Smart Thermostat
Last Updated: November 11, 2026
Quick Summary
To install a c-wire adapter, turn off the breaker and service switch, then mount the adapter near the furnace control board and connect its labeled leads to the R, W, Y, G, and C terminals. Run the adapter's two output leads to the thermostat, restore power, and verify the screen lights and Wi-Fi holds.
- Check for a terminal marked C, COM, or X before buying an adapter.
- A four-wire bundle usually means there is no C-wire present.
- Snap a photo of the control board wiring before touching any wire.
- Reversed adapter thermostat leads are the most common cause of a dead screen.
- Stop and call a professional if you see line-voltage wiring inside the unit.
Table of Contents
- What a C-Wire Adapter Does and When You Need One
- Tools and Safety Steps Before You Start
- How to Install a C-Wire Adapter for a Smart Thermostat Without a C-Wire
- Honeywell Home C-Wire Power Adapter Installation
- Amazon Thermostat C-Wire Adapter Installation
- How to Install a C-Wire Adapter for Nest
- Testing the Thermostat and Troubleshooting Common Problems
- Schedule Professional Smart Thermostat Installation
- Frequently Asked Questions
What a C-Wire Adapter Does and When You Need One
A C-wire adapter is a small device that supplies continuous low-voltage power to a smart thermostat when your existing thermostat wiring has no common wire. These adapters are used in older homes where the wire bundle has only four conductors.
Smart thermostats typically need a continuous power source. Without a C-wire, some models may flicker, drop Wi-Fi, or fail to run the fan. A C-wire adapter can supply that power without new wall openings.
How to Check for a C-Wire Before You Buy
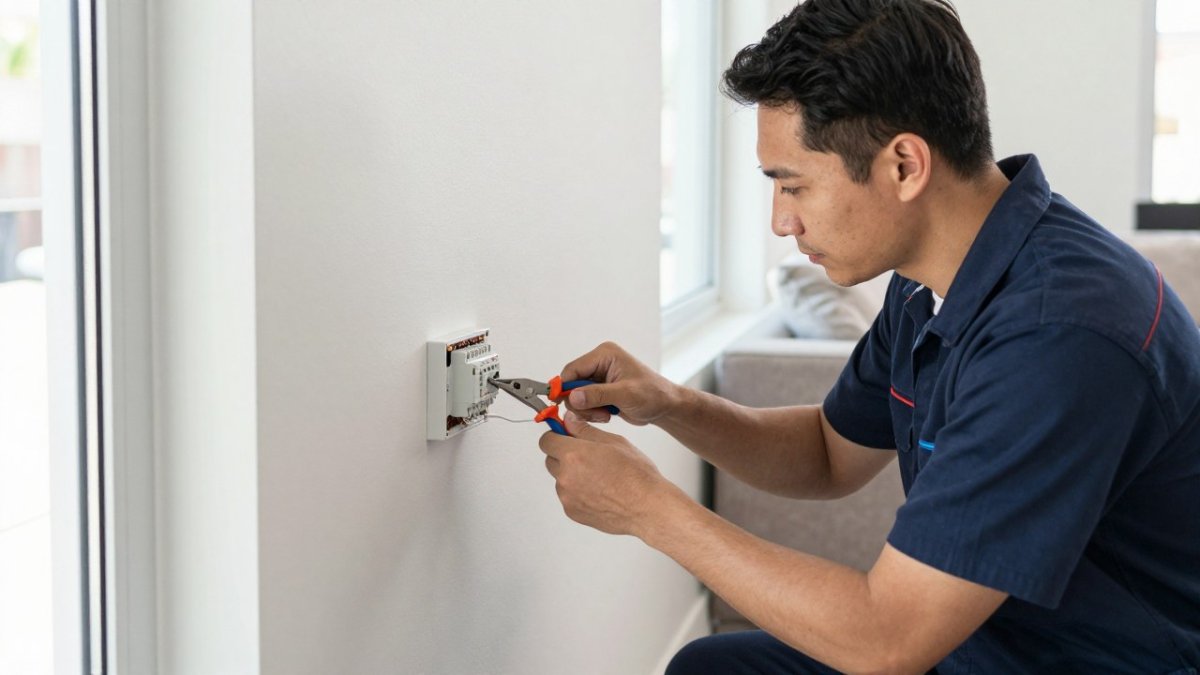
Pull the thermostat faceplate off and look at the terminal labels. You are looking for a terminal marked C, COM, or X. If a wire lands there, you have a common wire. If the terminal is empty, you do not.
Common terminal letters you will see:
- R or Rc/Rh: power
- W: heat
- Y: cooling
- G: fan
- C: common
Count the wires in the bundle too. A four-wire bundle usually means no C-wire. Five or more often includes one. If you confirm you have no common wire, our smart thermostat install guide for homes without them walks through the full picture before you spend a dime.
Finding a Spare or Unused Wire in the Bundle
Sometimes a spare wire hides in the wall. Push the wires back gently and check for a conductor that is not connected to any terminal. It may be clipped short or wrapped around the bundle.
A common mistake is assuming a spare wire is a C-wire. Test it first. A spare wire only works as a common wire if the other end is connected at the control board. Otherwise, it is dead weight. If you find one, trace it to the furnace before trusting it.
Tools and Safety Steps Before You Start
Gather these before you touch anything:
- Small flathead and Phillips screwdrivers
- Wire strippers
- Smartphone for photos
- C-wire adapter kit for your thermostat brand
- Voltage tester
- Electrical tape
Watch out: the biggest mistake is skipping the power-off step. Turn off the breaker for your furnace and air handler at the panel. Then flip the service switch near the unit. A low-voltage shock will not kill you, but a shorted wire can fry your control board, and that repair costs far more than the adapter.
Confirm power is off with a voltage tester across the R and C terminals. No reading means you are safe to proceed.
How to Install a C-Wire Adapter for a Smart Thermostat Without a C-Wire
The short answer: you install the adapter at the control board, then reconnect the thermostat wires through it. When you need to know how to install a C-wire adapter for a smart thermostat without a C-wire, the process is the same for most brands. The adapter sits near the furnace, not behind the wall.
Locating the HVAC Control Board at the Furnace or Air Handler
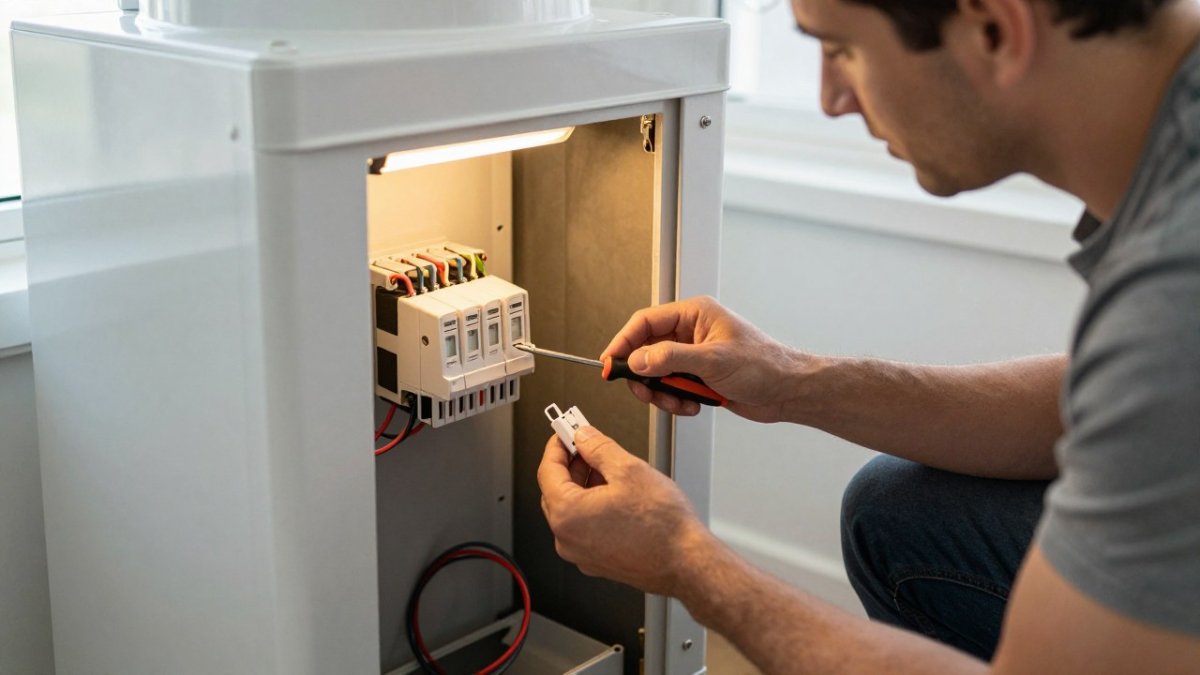
Follow the thermostat wire down to the unit. The control board is behind the lower service panel, usually a green or black circuit board with a row of screw terminals. Those terminals carry the same letters as your thermostat: R, W, Y, G, and C.
Snap a photo before you touch a single wire. That photo is your map if anything goes sideways.
Labeling, Photographing, and Connecting the Wires
Label every wire with tape and a letter. Then follow the adapter's wiring diagram exactly. Most adapters have five wires that land on the same terminals as your thermostat wires, plus two that run to the thermostat.
Connect them one at a time:
- Match each labeled wire to its terminal.
- Land the adapter's wires on the same terminals.
- Tighten every screw firmly.
- Tug each wire gently to confirm it is seated.
If a terminal gives you trouble or a wire breaks, our guide to fixing AC wiring for smart thermostats covers the repair step by step.
Honeywell Home C-Wire Power Adapter Installation
The install is straightforward: mount the adapter near the control board, connect its labeled leads to R, W, Y, G, and C, then wire the thermostat to the adapter's two output leads.
Two details matter. First, the adapter needs a clear spot with room for the cover. Second, match the adapter model to your thermostat. Many homeowners find the full walkthrough on a missing C-wire fix guide helpful when a terminal is occupied or the board layout looks unusual.
Amazon Thermostat C-Wire Adapter Installation
Amazon's adapter follows the same logic with one twist: it typically uses two wires to the thermostat and taps power at the board. Read the included diagram before you connect anything, because terminal naming on Amazon kits can differ slightly from Honeywell.
A common mistake is crossing the two thermostat leads. The adapter will not power up if they are reversed. Swap them and retry before assuming the unit is faulty.
How to Install a C-Wire Adapter for Nest
Google sells a dedicated power connector for Nest thermostats, and the wiring is similar: four wires to the board, two to the thermostat. The Nest app then walks you through a compatibility check.
The thing nobody tells you about Nest: the app can report a power problem even after a correct install. Give it a day to charge before you panic. If the issue persists, the connector may need a different terminal tap.
Testing the Thermostat and Troubleshooting Common Problems
Restore power at the breaker and the service switch, then watch the thermostat boot. A correct install shows a lit screen within about a minute and a stable Wi-Fi connection within a few minutes.
Post-Installation Verification Checklist
Run this sequence before you close up the furnace panel:
- Thermostat screen is lit and holding steady
- Thermostat reports a C-wire or shows no low-power warning
- Fan-only mode turns the blower on
- Heat call fires the furnace and warm air reaches the rooms
- Cool call fires the outdoor unit and cold air reaches the rooms
- No breaker trips after ten minutes of operation
- Adapter status light (if equipped) is on
If every box checks, the install is complete. If not, work the symptom-to-cause guide below in order, it moves from the most common and easiest fixes to the ones that call for a professional.
Symptom-to-Cause Troubleshooting Guide
Blank or dark thermostat screen. First confirm the breaker and service switch are both on.
Thermostat powers on but drops Wi-Fi repeatedly. This usually means the C-wire connection is present but not delivering steady power.
Fan runs constantly. The G wire is landed on the wrong terminal at one end.
Adapter light off. No power is reaching the adapter. Test R and C at the board with a voltage tester.
Error code on the thermostat or equipment. Stop and look up the code in the thermostat manufacturer's documentation before changing any wiring.
When to Stop and Call a Professional
Stop work and call an HVAC technician if any of the following is true:
- You see line-voltage wiring (thick black or red conductors, usually 120V or 240V) inside the unit, do not touch it
- The control board shows burn marks, a blown fuse, or a repeated fuse failure after replacement
- The wire bundle is brittle, cloth-insulated, or breaks when handled
- You have reversed leads, rechecked terminals, and the thermostat still will not power up
- Your system is a heat pump, has multiple zones, or uses a communicating control board, these often need a different adapter or a manufacturer-specific module
If the display still misbehaves after these checks, our step-by-step C-wire troubleshooting guide covers the deeper faults. Model-specific power requirements are documented on the manufacturer's support pages. For general wiring safety, the U.S. Consumer Product Safety Commission publishes electrical safety guidance for homeowners.
Use this symptom-to-cause guide to diagnose common problems after installation.
| Problem | Cause | Fix |
|---|---|---|
| Blank or dark thermostat screen | Reversed adapter thermostat leads | Swap the leads and retry |
| Thermostat drops Wi-Fi repeatedly | C-wire connection not delivering steady power | Tighten the C screw at board and thermostat |
| Fan runs constantly | G wire landed on wrong terminal at one end | Recheck G at board and thermostat against photo |
| No heat or no cool, but fan runs | Call wire (W or Y) loose or on wrong terminal | Recheck against photo and adapter diagram |
| Short cycling every few minutes | Loose common connection reboots thermostat mid-call | Recheck C at both ends |
| Adapter light off | No power reaching the adapter | Test R and C at the board with a voltage tester |
| Error code on thermostat or equipment | Compatibility problem rather than connection problem | Look up the code in manufacturer documentation |
Schedule Professional Smart Thermostat Installation
Some jobs are not worth the risk. If your board is crowded, your wire bundle is brittle, or you have already tried once and failed, hand it off. RTS Comfort Cooling & Heating offers professional smart thermostat installation in the Las Vegas area.
Here is what you get when you book with us:
- A compatibility check before any work starts
- Clean wiring and a labeled bundle
- Full system test on heat, cool, and fan
- 24/7 emergency service if something fails later
Call (702) 707-4242 for a free estimate, or book professional smart thermostat installation online. We will confirm your system works before we leave.
A thermostat that loses power mid-summer is more than an annoyance. It is a comfort problem you should not sit on.
Frequently Asked Questions
Do C-wire adapters actually work with smart thermostats?
Yes. A C-wire adapter draws continuous 24-volt power from your HVAC control board and delivers it to the thermostat through the existing wire bundle, so the smart thermostat stays powered without a dedicated common wire. It works with most major brands, including Nest, Honeywell Home, and Amazon thermostats, as long as the adapter is compatible with your specific model. Check the adapter's compatibility list before purchase, and confirm your system uses standard low-voltage wiring.
Where does the C-wire adapter connect at the furnace?
The adapter connects at the HVAC control board inside the furnace or air handler. You remove the existing thermostat wires from their terminals, connect the adapter's leads to the matching R, W, Y, and G terminals, and then reconnect the thermostat wires to the adapter's labeled pigtails. The adapter needs a connection to the C terminal as well. Always turn off power to the HVAC system at the breaker before opening the panel.
Can I install a C-wire adapter without running new wire?
Yes, that is the main reason adapters exist. If your existing thermostat wire bundle has four or five wires and no spare conductor, the adapter uses the wires already in the wall to carry power. You do not need to fish new cable through finished walls. If your bundle has an unused wire, you can repurpose it as a C-wire instead of buying an adapter, which is often the simpler route.
What should I do if my smart thermostat still loses power after installing the adapter?
Check three things first: the adapter's C-terminal connection at the control board, the wire seating at both the adapter and thermostat terminals, and the breaker to confirm power is restored. A loose strand or a wire in the wrong terminal is the most common cause. If the thermostat display stays blank after reseating every connection, the adapter may be incompatible with your system or the transformer may be undersized. Call a licensed HVAC technician to test the low-voltage circuit.